
Great design doesn’t just appear—it’s built, layer by layer, from a simple idea to a fully polished product. Whether it’s a sleek website, a stunning mobile app, or eye-catching packaging, every impressive design starts with a sketch and ends with something that feels effortless and intuitive on the screen.
But what actually happens in between? What does the creative journey look like?
Let’s pull back the curtain and explore the full creative process behind great design—from messy sketches to final pixels.
1. The Spark: Ideation and Research
Every project begins with a question: What are we trying to solve?
Before any lines are drawn or colors are picked, designers dive into research and ideation. This stage is all about understanding:
- The client’s goals
- The end user’s needs
- The problem the design is solving
- The context in which it will be used
Designers gather inspiration, study competitors, explore current trends, and brainstorm ideas. This is where mood boards, user personas, and creative briefs come into play.
The goal here isn’t to jump to a solution—it’s to ask the right questions and set a clear direction.
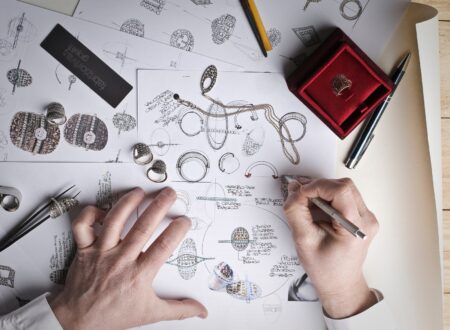
2. Sketch It Out: Low-Fidelity Concepts
Next comes one of the most freeing parts of the process: sketching.
This isn’t about creating art. It’s about getting ideas down fast—on paper, a whiteboard, or a tablet. These rough drafts allow designers to explore different layouts, interactions, or visual styles without overcommitting.
This stage is low-pressure, high-creativity. It’s where ideas can fail quickly, evolve naturally, and spark innovation.
Some tools used at this stage:
- Pen and paper (yes, it still works wonders!)
- Figma or Sketch for quick wireframes
- Whimsical or Miro for collaborative whiteboarding
Tip: Don’t underestimate a good napkin sketch. Many great ideas start off messy.
3. Wireframes and Structure: The Blueprint Phase
Once a general direction takes shape, designers move into wireframing. Think of this as the blueprint of your project—it lays out the structure, flow, and hierarchy of content without the distraction of visuals.
Wireframes help answer questions like:
- What goes where?
- How do users move from one section to another?
- Are we guiding attention in the right way?
This is also a key collaboration phase. Designers work closely with developers, copywriters, and stakeholders to ensure functionality and clarity are in sync with the overall goals.
Tools of the trade:
- Figma (again—it’s a favorite!)
- Adobe XD
- Balsamiq
- InVision
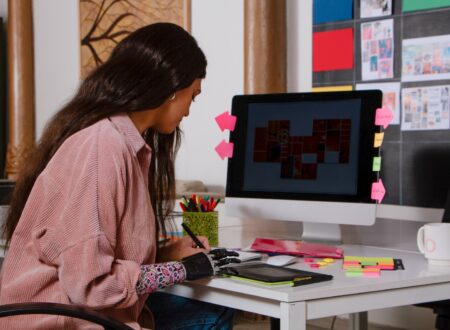
4. Designing the Look: High-Fidelity Mockups
Now the fun begins: visual design.
This is when a designer adds color, typography, imagery, icons, and branding to the wireframes to bring the vision to life. It’s also where consistency and style systems come into play.
Great visual design considers:
- Visual hierarchy (what grabs attention first?)
- Accessibility (can everyone interact with it?)
- Brand alignment (does it reflect the company’s voice and tone?)
- Responsiveness (how does it look on mobile vs. desktop?)
A design system or style guide is often developed here to ensure a unified look across the project.
5. Prototype and Test: Bringing It to Life
Mockups are static. To truly understand how a design works, it needs to be interactive.
Prototyping allows users and stakeholders to click through the design, test interactions, and simulate the experience before a single line of code is written.
Why prototyping matters:
- It uncovers usability issues early
- It validates the user journey
- It improves communication between designers, developers, and clients
After building a prototype, it’s time to test with real users. Conducting usability tests, collecting feedback, and making adjustments is a vital step before moving into development.
6. Handoff to Development
Once everything is dialed in, designers prepare for the handoff to developers. This means organizing files, documenting design specs, and ensuring assets are ready to be coded.
Collaboration is key here. A strong relationship between designers and developers ensures the final product matches the creative vision—without compromise.
Tools that streamline handoff:
- Zeplin
- Figma’s Developer Mode
- Notion or Confluence for documentation
- GitHub (for collaborative feedback)
7. Launch and Iterate
The product is live—but the process isn’t over. Great design evolves.
Once the design is in the hands of users, it’s time to:
- Monitor performance (analytics, heatmaps, etc.)
- Gather user feedback
- Tweak and improve
Iteration is a core part of the creative process. Design isn’t about getting it perfect the first time—it’s about making it better every time.
Final Thoughts
Behind every beautiful website or intuitive app is a thoughtful, strategic process that started with a rough sketch. From ideation to wireframing, prototyping to launch, great design is as much about problem-solving as it is about creativity.
Design isn’t just how something looks—it’s how it feels, functions, and connects with users.
So the next time you click a perfectly placed button or scroll through a seamless interface, remember: that design was once just a scribble on a page. And behind it, there’s a team of creative thinkers turning vision into reality—one pixel at a time.